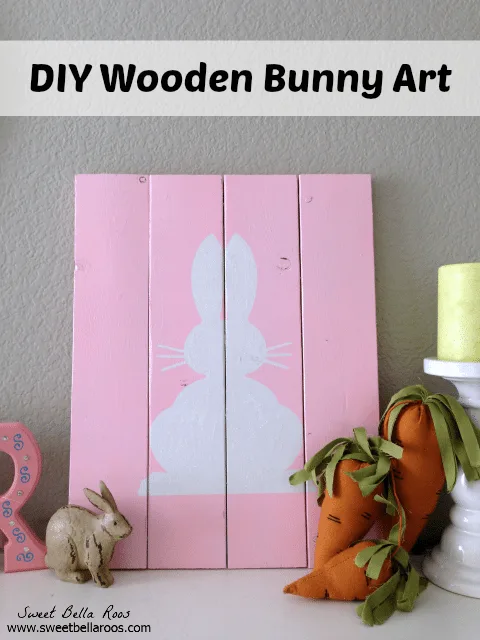
After seeing my friend Jamie’s super cute DIY Easter Sign from Scrap Wood- I knew I wanted to make one for myself! I’m not cool enough to have scrap wood laying around waiting for my next project… so I had to take a trip to Home Depot for a 2×4.
This was also my first time having Home Depot cut the wood for me. (Did you know they do that?!) For this sign you will need 4 pieces of 17.5in 2×4. You could really cut it to whatever length you want, depending on how big you want the finished piece to be. You will also need one piece of 8in 2×4. The smaller piece will be used on the back to hold the other pieces together. I used 8 nails to hold the piece in place, 2 nails for each of the four longer pieces.
I then spray painted the front white- you don’t have to be exact on this because we will be covering it again with pink, but make sure to get a good coat in the center. While this was drying, I used my Silhouette machine to cut out the bunny image in vinyl. After the white coat has dried, place the bunny in the center of your rectangle. Then give it a good once over with the pink spray paint. Before the paint has had time to dry, peel the bunny sticker off. I allowed the whole thing to dry, and then coated the white bunny with mod podge and white glitter.
Supplies:
4ea 17.5in 2×4
1ea 8in 2×4
Pink spray paint
White spray paint
Bunny image
White glitter & Mod Podge (optional)
I love the way this project turned out- super easy, cheap, and done in one afternoon!
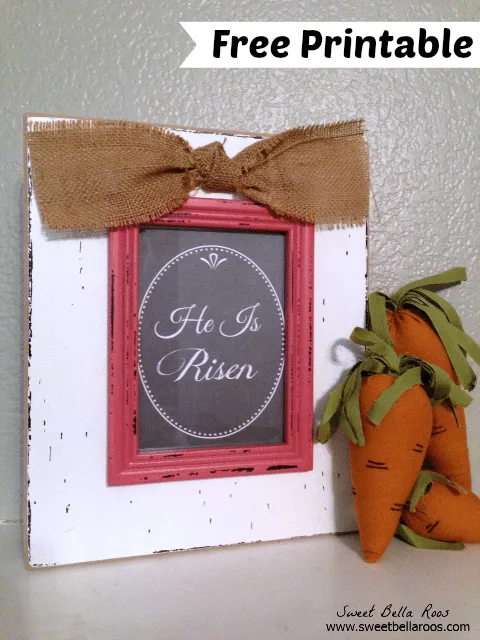
You can see more of my Easter mantel in progress here: He Is Risen- Free Printable


The Happy Creations
Friday 11th of April 2014
Love this!!! Thanks for posting!
Jamie Roubinek
Tuesday 8th of April 2014
I love this! :)