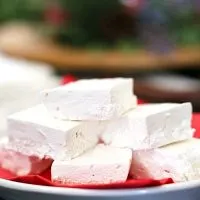
This easy Divinity Candy recipe is made in one big pan, like fudge, instead of using the drop candy method. Make homemade divinity the easier way. Perfect for gifting!
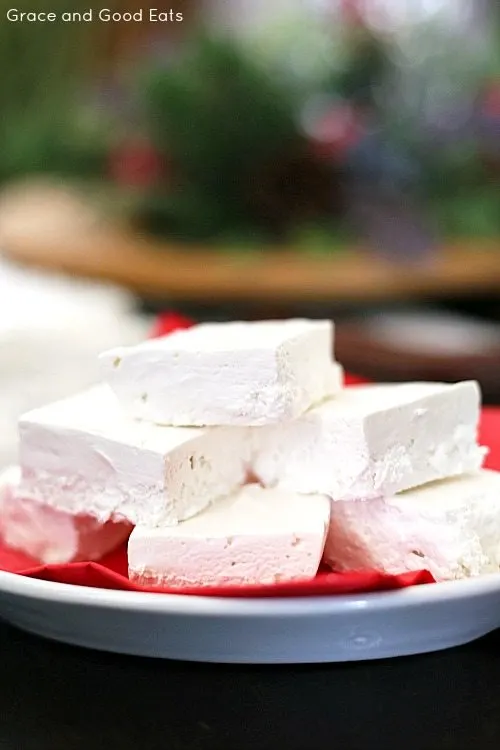
What Is Divinity Candy?
Chances are that if you live in the South, like I do, then a plate of Divinity will be on your candy table. (You do have a table designated just for cookies and candies, right?) We have other desserts, usually a pecan pie and a chocolate pie, but it’s not complete for me without some rich chocolate fudge, maybe a little cracker toffee, and a plate of divinity.
My mom’s grandmother made Divinity every year at Christmas. Knowing now how it’s made, I can’t imagine my great-grandmother in the kitchen whisking this furiously by hand without the help of a stand mixer. My mom started making it years ago and my dad fell in love with it. It has graced our candy table at Christmastime ever since.
This year she tried a new recipe that made the whole process even easier. Traditional Divinity is spooned into little mounds and topped with pecan halves. That method is too stressful for me. The Divinity continues to stiffen as you make the mounds and is dry before you finish. Nobody likes flat, dry Divinity.
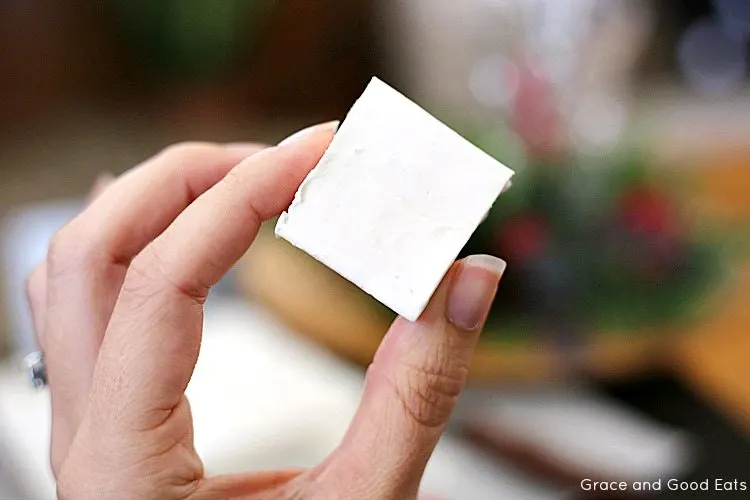
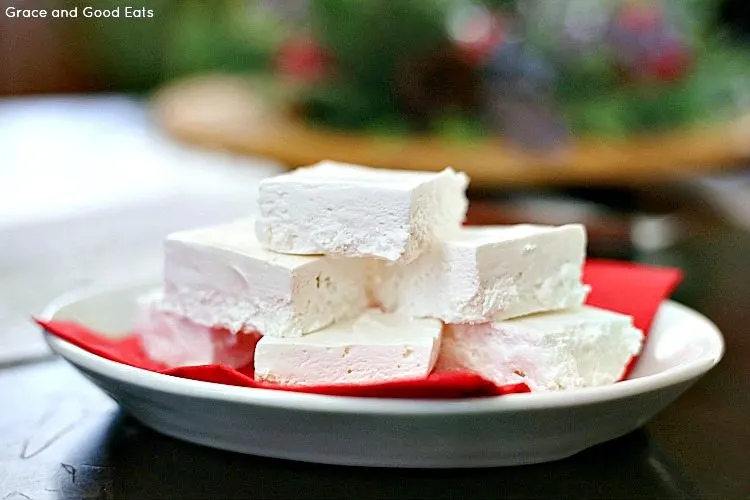
With this recipe, you pour the entire batch into a pan so that it can set and be cut into individual squares to your liking, similar to fudge. We are Divinity purists and never add pecans to ours (fudge either, for that matter). Divinity should be creamy, smooth, soft… it almost reminds me of marshmallow fluff in fudge form.
What’s Needed for Divinity?
To make this Divinity fudge recipe, you’ll need the following basic ingredients:
- Granulated sugar
- Water
- Corn syrup
- Egg whites
- Salt
- Vanilla extract
How to Make Divinity
- Combine sugar, water, and corn syrup in a heavy saucepan over medium heat.
- Cook until the syrup reaches the firm ball stage (about 250° to 265°F on a candy thermometer).
- While the syrup is cooking, beat the egg whites with salt until stiff.
- Gradually add half the syrup to the egg whites.
- Return the remaining syrup to the stove until boiling again, then gradually beat the remainder into the egg whites.
- Mix in the vanilla, then pour into a parchment paper-lined 9×9-inch baking dish.
- Let cool completely before slicing.
How to Store Divinity Candy
This Divinity dessert should be stored in an airtight container that’s been lined with wax paper. It will last up to 2 weeks.
Tips for Making This Divinity Candy Recipe
- Don’t make it on a humid or rainy day. Probably part truth and part wives’ tale, southerners swear you shouldn’t make divinity while it’s raining. The candy won’t set up.
- Beat the eggs with the whisk attachment and then switch to the paddle when it’s time to add the syrup. The paddle cuts down on splatter!
- Use a heat diffuser when making candy. A diffuser helps eliminate hot spots and evens the heat surface. Affiliate link: this is the Cast Iron Heat Diffuser we use.
- Make a parchment paper sling for easy removal from the pan. To make a parchment paper sling: cut a piece of parchment paper to fit the length of your pan. Leave enough parchment so that there are a few inches extra coming out of the pan – so it looks like wings. You aren’t trying to cover the entire pan (all sides) just the bottom and two sides to create the “sling” for easy lifting.
More Easy Christmas Treats:
- Rocky Road Candy Bars
- Easy Chocolate Truffles
- Cinnamon Sugar Pecans
- Chocolate Almond Candy
- Chocolate-Dipped Peppermint Sticks
Ingredients
- 3 cups granulated sugar
- 3/4 cup water
- 1/2 cup corn syrup
- 2 egg whites
- 1/2 tsp salt
- 1 tsp vanilla extract
Instructions
- Butter a 9×9-inch pan and line with a parchment paper sling for ease of removal. Butter the parchment paper as well; set aside.
- Combine sugar, water, and corn syrup in a heavy saucepan over medium heat. Continue cooking this mixture until the syrup reaches the firm ball stage, about 250° to 265°F on a candy thermometer. (It should be firm to the touch but still able to be flattened slightly when a small ball of syrup is dropped in cold water.)
- While syrup is cooking, beat egg whites with salt until stiff.
- Gradually add half the syrup to the egg whites, beating constantly.
- Return the remaining syrup to the stove until boiling again, then gradually beat the remainder into the egg whites until dry (no longer shiny).
- Beat in the vanilla just until combined.
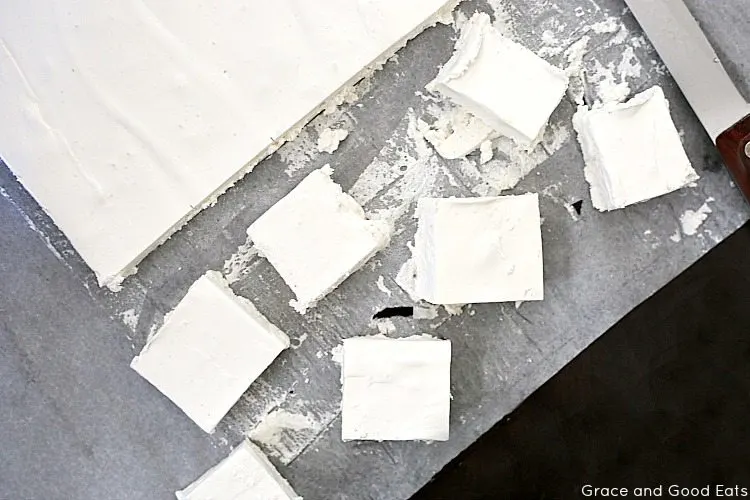
- Pour into prepared pan and allow to cool. Cut into squares when firm with a sharp, thin-bladed knife sprayed with cooking spray to make clean cuts.


Nichole
Friday 25th of December 2020
How long should step 5 take? I tried this recipe yesterday but unfortunately it was a fail for me. I’m thinking that I didn’t mix long enough because the finished product turned out to be super sticky kinda like melted marshmallows.
Lee
Sunday 20th of September 2020
first time trying this recipe . Delicious . A helpful tip would be to include in recipe approximate times for each step ( boiling sugar or how long from shiny to done)
Ashley leitzel-reichenbach
Wednesday 17th of June 2020
Why do you put the sugar mixture back on the stove to boil? Can you not just put it all in at the start??
Rhonda
Sunday 4th of August 2019
Can you use honey l don't have corn syrup on hand
Tammy
Sunday 24th of March 2019
Love divinity...this method looks so much easier & more do-ableach than the drop method...thanks for sharing...can't wait to try it.